- Free shipping for all orders from $50+
- //
- Need help :+36 0123 456 789
- //
- 30% off every thing (yes, every thing )
- //
- Get an extra 25% off using the code 10 wello
- //
- Free shipping for all orders from $50+
- //
- Need help :+36 0123 456 789
- //
- Free shipping for all orders from $50+
- //
- Need help :+36 0123 456 789
- //
- 30% off every thing (yes, every thing )
- //
- Get an extra 25% off using the code 10 wello
- //
- Free shipping for all orders from $50+
- //
- Free shipping for all orders from $50+
- //
- Need help :+36 0123 456 789
- //
- 30% off every thing (yes, every thing )
- //
- Get an extra 25% off using the code 10 wello
- //
- Free shipping for all orders from $50+
- //

Category:
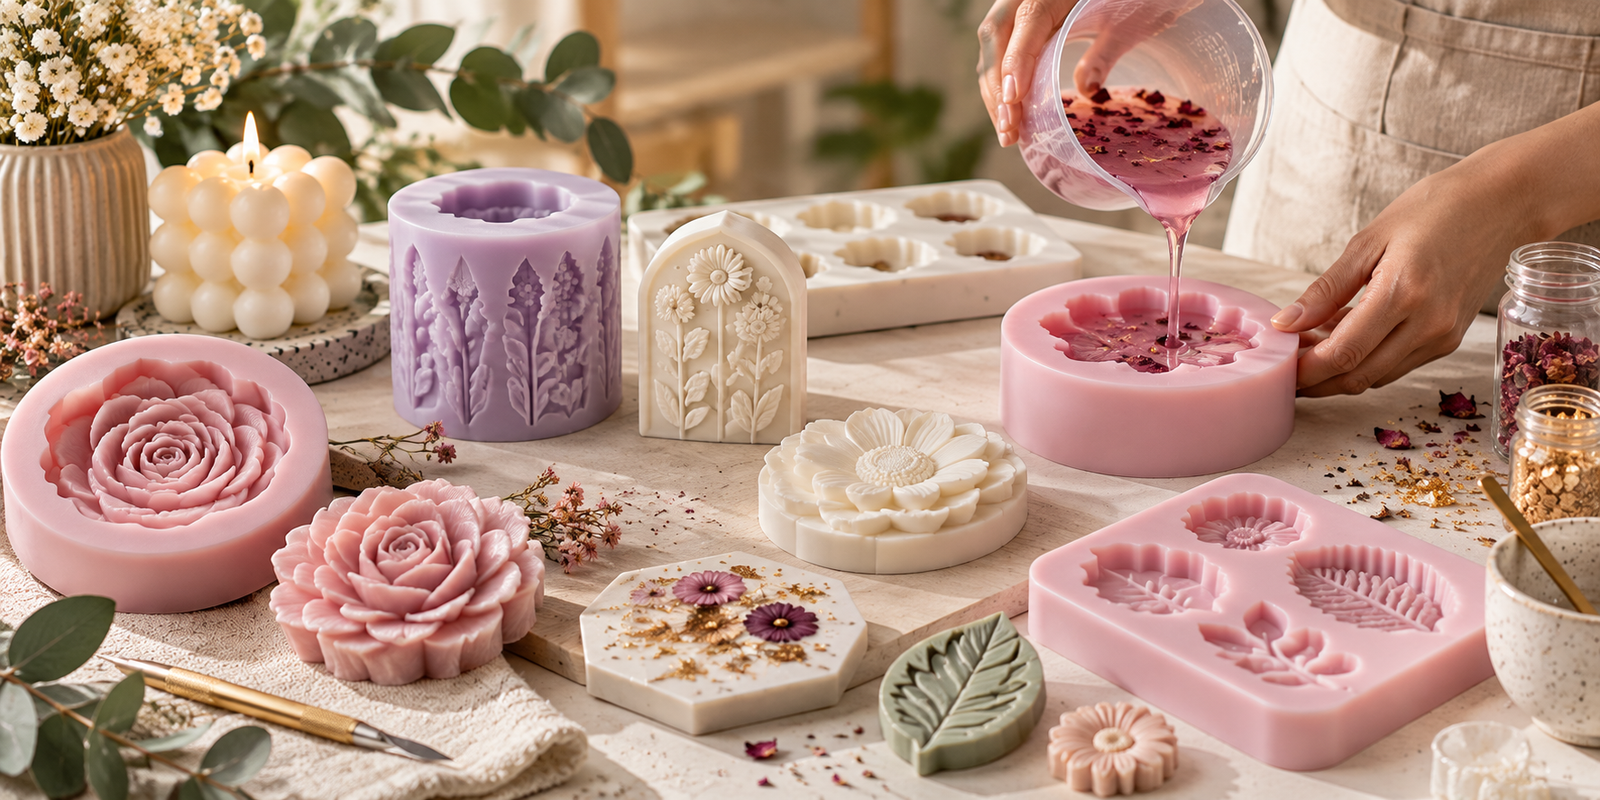
Getting Clean and Detailed Results From Silicone Molds
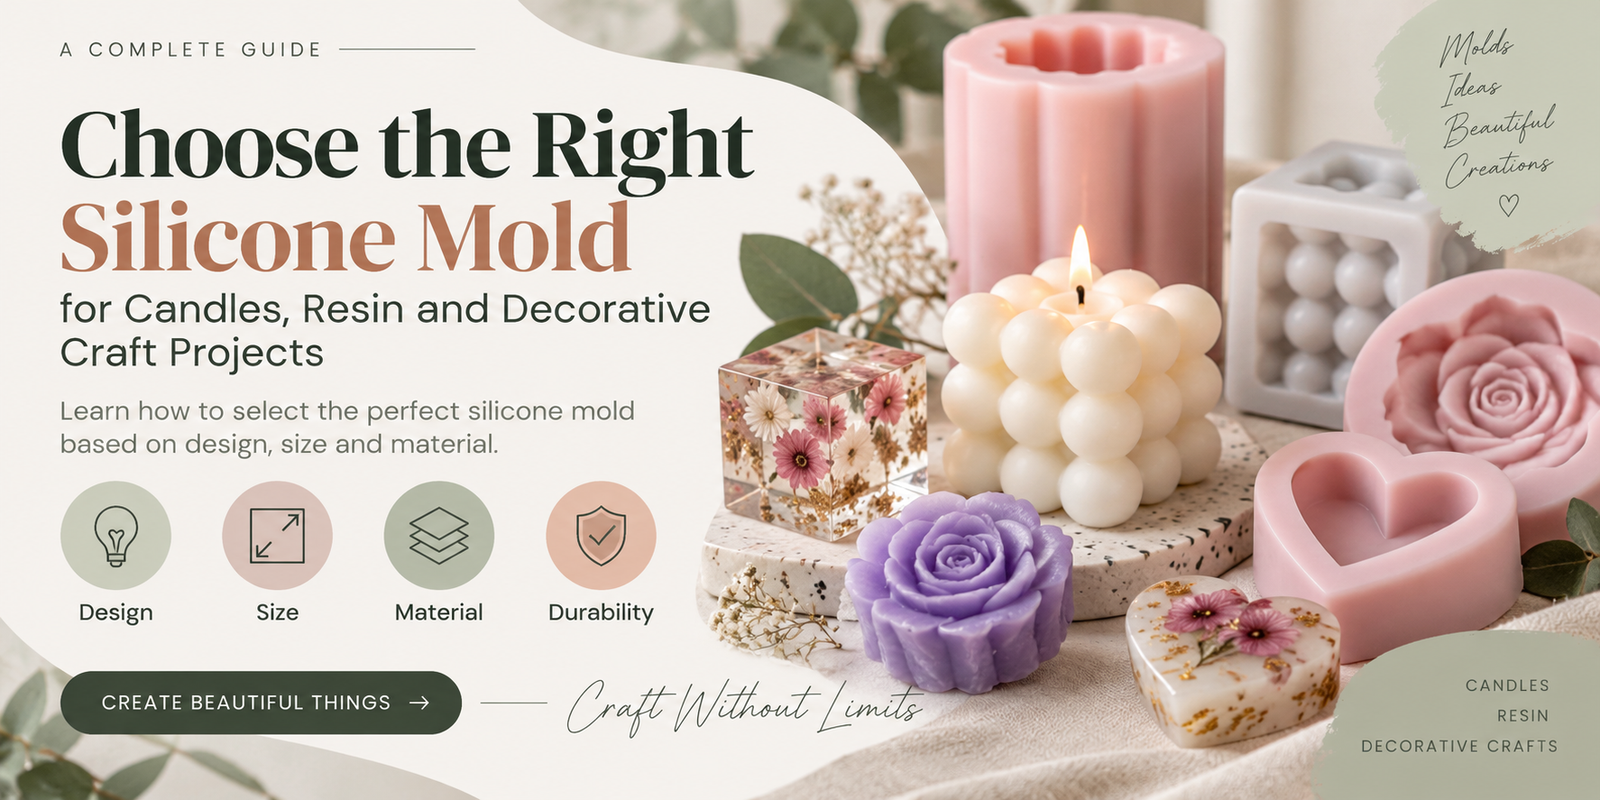
Detailed silicone molds make it possible to create beautiful decorative pieces with impressive shapes, textures, and intricate patterns. From floral designs and geometric forms to candles, resin pieces, and other decorative crafts, the right mold can make a significant difference in the final appearance of your project. However, achieving a clean and professional result depends not only on the quality of the mold but also on how carefully you prepare, fill, set, and remove your project. Taking a little extra time during each stage can help preserve fine details and reduce common problems such as bubbles, uneven surfaces, or damaged edges.
Start With a Clean Mold
Before beginning a new project, make sure the silicone mold is clean, dry, and completely free from dust, leftover material, oils, or other debris. Even small particles trapped inside the mold can leave unwanted marks or imperfections on the surface of the finished piece. For detailed designs, cleanliness is especially important because dust and residue can become visible in small grooves, edges, and textured areas. Gently clean the mold using a suitable method for the material and allow it to dry completely before starting your project. Avoid using anything that could scratch or damage the silicone surface, as maintaining the mold properly will help it produce consistent results over repeated use.
Prepare Your Material Carefully
Whether you are working with wax, resin, plaster, soap base, or another suitable casting material, always follow the preparation instructions recommended for that particular material. Accurate measurements, proper mixing, and appropriate temperatures can have a major effect on the final result. Take your time when combining materials and avoid unnecessary agitation that could introduce excessive air bubbles. If your project requires color, fragrance, pigments, or decorative elements, make sure they are properly incorporated before filling the mold. Good preparation gives the material a more consistent texture and helps ensure that it flows smoothly into the detailed sections of the silicone mold.
Fill the Mold Carefully
Pour or place your prepared material into the silicone mold slowly and steadily rather than filling it too quickly. A controlled pour allows the material to gradually reach narrow grooves, corners, and intricate areas of the design while reducing the chance of trapping large air bubbles. For highly detailed molds, you may gently tap or vibrate the mold after filling to help release trapped air, depending on the material being used. Avoid overfilling the mold, as excess material can make the finished piece harder to remove and may create uneven edges. Careful filling is particularly important when working with decorative molds where even small imperfections can affect the overall appearance.
Allow Enough Time
Once the mold has been filled, give the material enough time to set, cool, or cure according to its specific requirements. Avoid moving or disturbing the mold unnecessarily during this stage, as movement can affect the shape or surface of the finished piece. The required time may vary depending on the material, project size, room temperature, and product instructions, so it is always better to follow the recommended curing or setting time rather than relying only on appearance. Removing a piece too early can cause delicate details to break, surfaces to become distorted, or the finished shape to lose its form. Patience during this stage can make a noticeable difference in the quality of the final result.
Remove the Finished Piece Gently
Once your material has completely set or cured, carefully flex the silicone mold to begin releasing the finished piece. Silicone is naturally flexible, which makes it easier to separate the mold from detailed shapes without damaging the casting. Work slowly around the edges and gradually loosen the piece instead of pulling it out forcefully. Pay particular attention to thin sections, small decorative details, sharp corners, and delicate textures, as these areas can be more vulnerable during removal. If the piece does not release easily, avoid excessive force and check whether it requires additional setting or curing time. Gentle handling helps maintain the original shape and keeps both the finished piece and silicone mold in better condition.
With proper preparation, careful material handling, and a little patience, silicone molds can help you consistently create clean, detailed, and attractive handmade projects. Taking care of the mold between uses and following the correct process for each material can also extend the life of your molds and improve the consistency of future projects. Whether you are creating decorative candles, resin artwork, floral pieces, or other creative crafts, a careful approach can help you achieve better results while making the crafting process more enjoyable.